06.VitePress特殊设置
增加百度统计
docs.vitepress\config.js
javascript
export default {
    title: '敲代码的卡卡罗特',
    description: '编程,健身,电影,听歌',
    base:'/',
    head : [ // 网站icon
        ['link',{rel:'icon',href:'./images/logo.png'}],
        // 注入百度统计代码
        ['script',
            {},
            `var _hmt = _hmt || [];(function() {var hm = document.createElement("script");
            hm.src = "https://hm.baidu.com/hm.js?**************";
            var s = document.getElementsByTagName("script")[0];s.parentNode.insertBefore(hm, s);})();`
        ],
    ],
}理论上加上下面这个代码就OK了,但是vitepress是单页面,所以我们还要为router做一下处理
docs.vitepress\theme\index.js
js
import DefaultTheme from 'vitepress/theme'

export default {
    ...DefaultTheme,
    enhanceApp({ app, router, siteData }) {
        router.onBeforeRouteChange = (to) => {
            console.log('路由将改变为: ', to);
            if (typeof _hmt !== 'undefined') {
                _hmt.push(['_trackPageview', to]);
            }
        };
    },
}接入评论系统 - Utterances
TIP
使用了一段时间之后,我根据这个插件其实不好用。准备换个插件。下面是我调研的几款插件。
https://artalk.js.org/ (用docker压根就安装不了,放弃)
https://valine.js.org/ (需要注册LeanCloud,操作十分简单,推荐)
https://waline.js.org/ (需要注册LeanCloud,国内用不了,fuck,放弃)
1、打开 utterances - GitHub App 点击 Install 进入安装页面。
2、选择一个仓库,保存即可
3、点进去 获取代码
4、粘贴到页面,刷新即可
html
<!DOCTYPE html>
<html lang="en">
<head>
  <meta charset="UTF-8">
  <meta name="viewport" content="width=device-width, initial-scale=1.0">
  <title>Document</title>
</head>
<body>
  <script src="https://utteranc.es/client.js"
    repo="coder-lzh/note"
    issue-term="pathname"
    theme="github-light"
    crossorigin="anonymous">
  </script>
</body>

</html>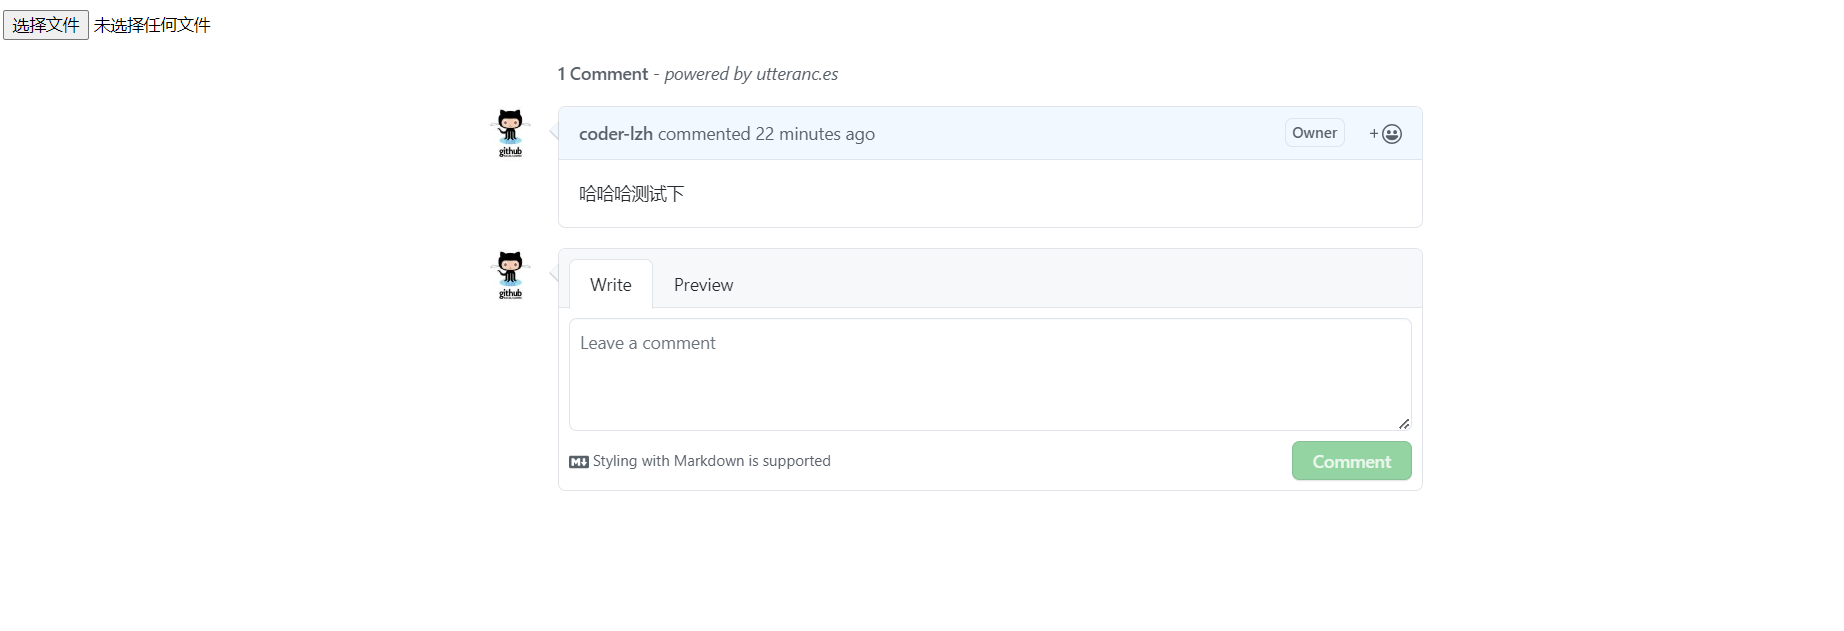
如果我们想要在每个页面都加上评论,需要安装下面的写法
编写评论组件 docs.vitepress\component\MComment.vue
html
<template>
    <div class="comment" id="comment" />
</template>
<script setup >
    import { onMounted  } from 'vue'
    // 页面初始化后执行的函数
    function initAfterMount() {
        const comment = document.querySelector('#comment')
        if (comment) {
            const utterances = document.createElement('script')
            utterances.setAttribute('src', 'https://utteranc.es/client.js')
            utterances.setAttribute('repo', 'coder-lzh/note')
            utterances.setAttribute('issue-term', 'pathname')
            utterances.setAttribute('theme', 'preferred-color-scheme')
            utterances.setAttribute('crossOrigin', 'anonymous')
            utterances.setAttribute('async', 'true')
            comment.appendChild(utterances)
        }
    }

    onMounted(initAfterMount);
</script>
<style>
    /**评论设置**/
    #comment .utterances{
        margin: 0;
    }
</style>挂载到笔记的底部 docs.vitepress\theme\index.js
html
import DefaultTheme from 'vitepress/theme'
import './style/var.css'
import { h } from 'vue'
import MComment from '../component/MComment.vue'

export default {
    ...DefaultTheme,
    Layout() {
        return h(DefaultTheme.Layout, props, {
            'doc-bottom': () => h(MComment)
        })
    },
}接入评论系统 - valine
MComment2.vue
vue
<template>
    <div class="comment" id="comment" />
</template>
<script setup >
    import { watch,onMounted } from 'vue'
    import { useRoute } from 'vitepress'
    const route = useRoute()
    const initValine = (path) => {
        new Valine({
            el:'#comment',
            appId: 'OQTCarrRgxT8onIPNf4ZzNjv-xxxxxxxxx',
            appKey: '3Heuii4H6xV43FgMm-xxxxxxxxxxx',
            notify: false,
            verify: false,
            path: path,
            visitor: true,
            avatar: 'mm',
            placeholder: '来都来了,不留点啥吗...'
        })
    }
    watch(
        () => route.path,
        () => {
            console.log("监听路由变化");
            initValine(route.path);
        }
    );
    //加载完成之后才开始初始化
    onMounted(() => {
        remoteImport('https://unpkg.com/valine@1.5.2/dist/Valine.min.js').then(() => initValine(route.path));
    });

    //动态加载js文件
    function remoteImport(url) {
        return new Promise((resolve) => {
            let head = document.getElementsByTagName("head")[0];
            let script = document.createElement("script");
            script.setAttribute("type", "text/javascript");
            script.setAttribute("src", url);
            head.appendChild(script);

            script.onload = function () {
                resolve();
            };
        });
    }
</script>
<style scoped>
    /**评论设置**/
    #comment {
        width: 800px;
        /*margin: 0 auto;*/
    }
</style>邮件通知
有人给我们留下了评论,如何第一时间获取通知呢?这里有个扩展的能力,点击进入 Valine-Admin
然后根据 教程一步步来
先到 云引擎 下的 WEB 的 部署 页面,然后 选择 源码部署,将 git仓库地址 填上去https://github.com/BillChen2k/Valine-Admin
然后 点击 部署
一会看到 部署成功
然后到 WEB 下的 设置这里,填写 必要的 环境变量
text
SITE_NAME : 网站名称。
SITE_URL : 网站地址, 最后不要加 / 。
SMTP_USER : SMTP 服务用户名,一般为邮箱地址。
SMTP_PASS : SMTP 密码,一般为授权码,而不是邮箱的登陆密码,请自行查询对应邮件服务商的获取方式
SMTP_SERVICE : 邮件服务提供商,支持 QQ、163、126、Gmail、"Yahoo"、...... ,全部支持请参考 : Nodemailer Supported services。 --- 如这里没有你使用的邮件提供商,请查看自定义邮件服务器
SENDER_NAME : 寄件人名称。注意这里 126邮箱不行,我试过了,需要换成 163或者QQ的才可以 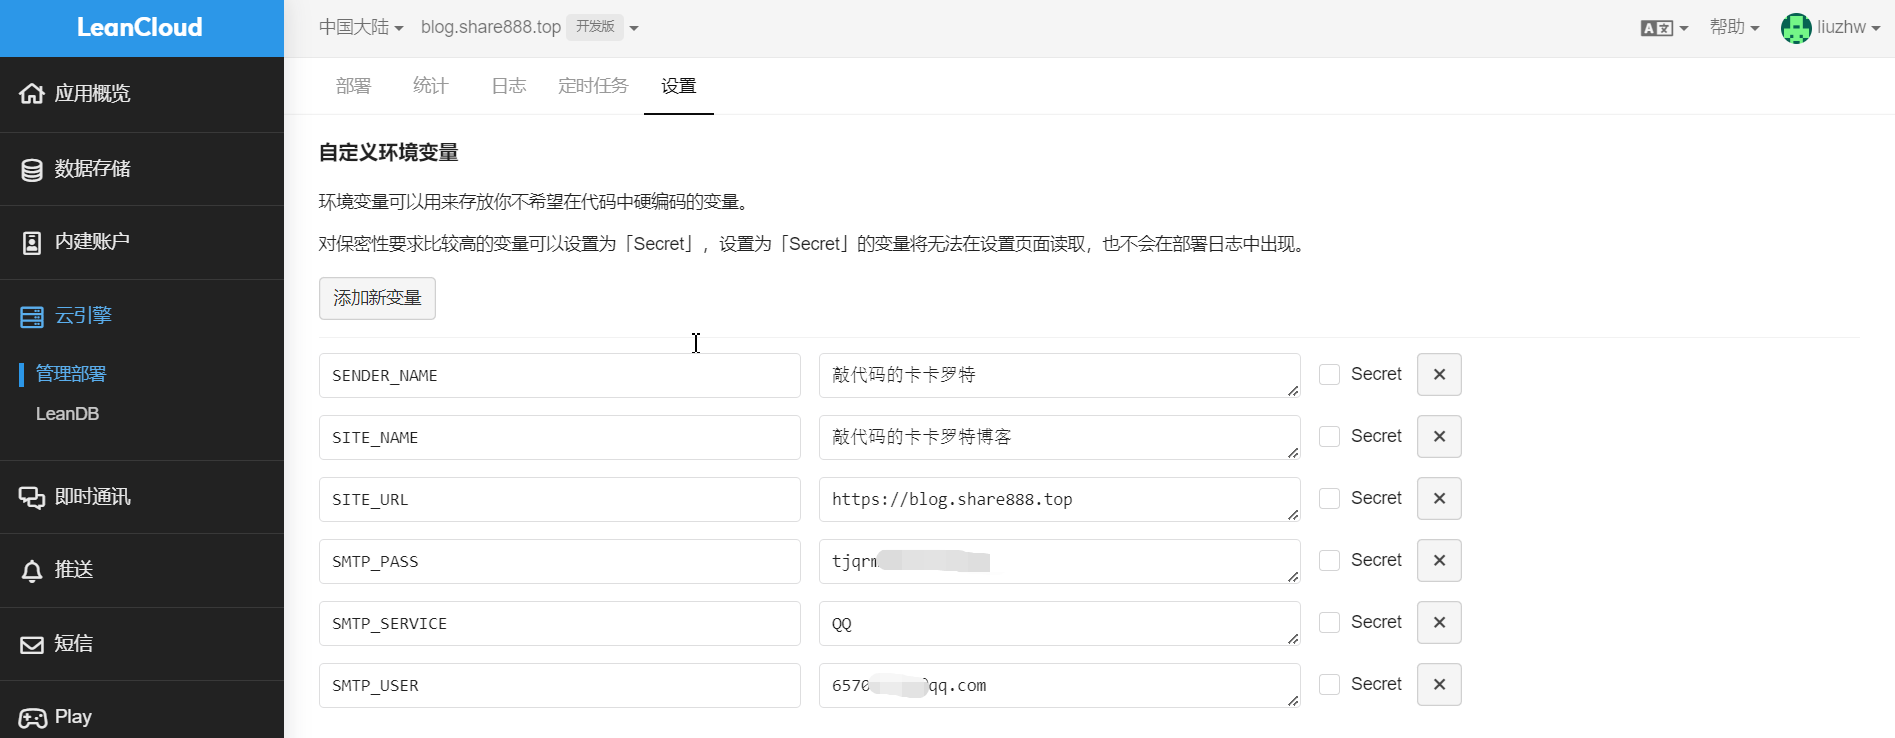 保存后,点击部署,重启容器 才能生效
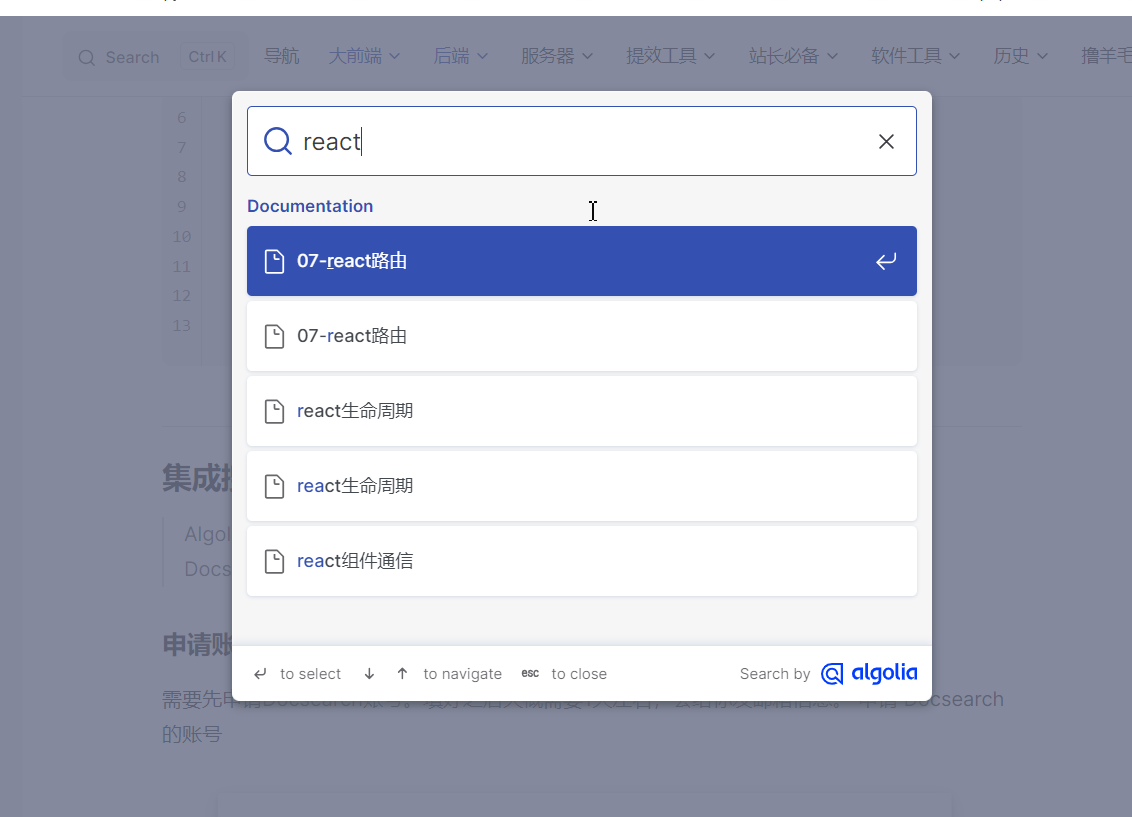
集成搜索组件-Algolia
Algolia网站:https://www.algolia.com/
Docsearch: https://docsearch.algolia.com/apply/
一定要注意!!!
1.Docsearch是根据sitemap.xml抓取的,所以一定要有sitemap.xml文件
2.写md文档标题一定不要有空格,路径一定不要有驼峰。大坑!!!
申请账号
需要先申请Docsearch账号。填好之后大概需要1天左右,会给你发邮箱信息。 申请 Docsearch 的账号 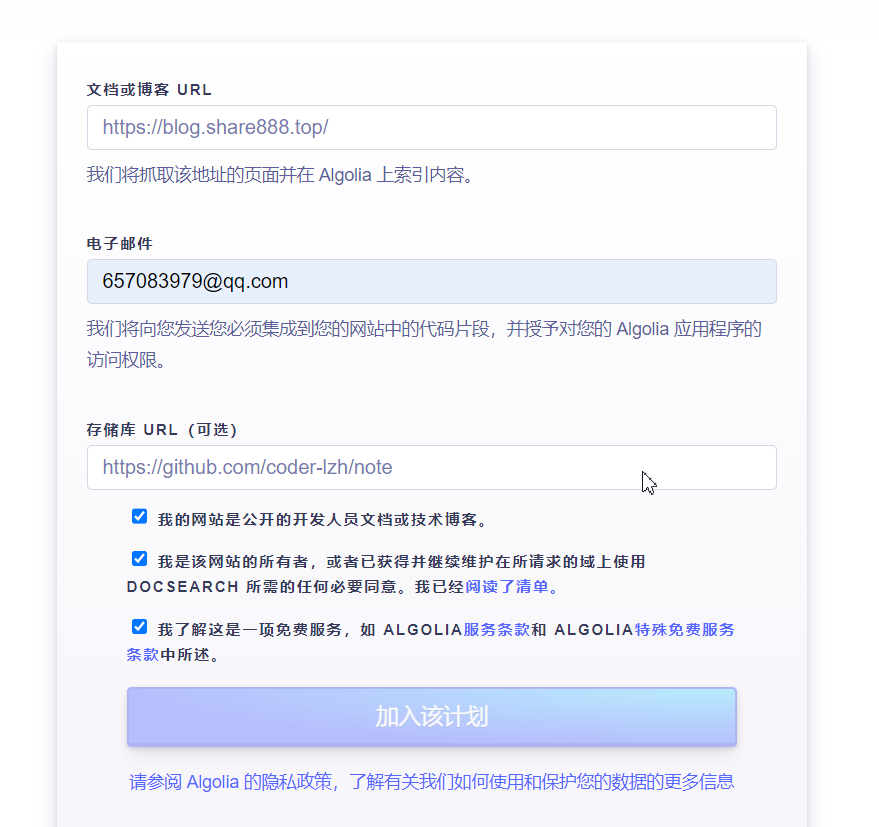
申请成功的邮件回复 
然后,点开algolia的后台,第一次需要登录,一般选择github登录
查看后台信息
查看当前应用,https://dashboard.algolia.com/account/applications
查看索引是否有值 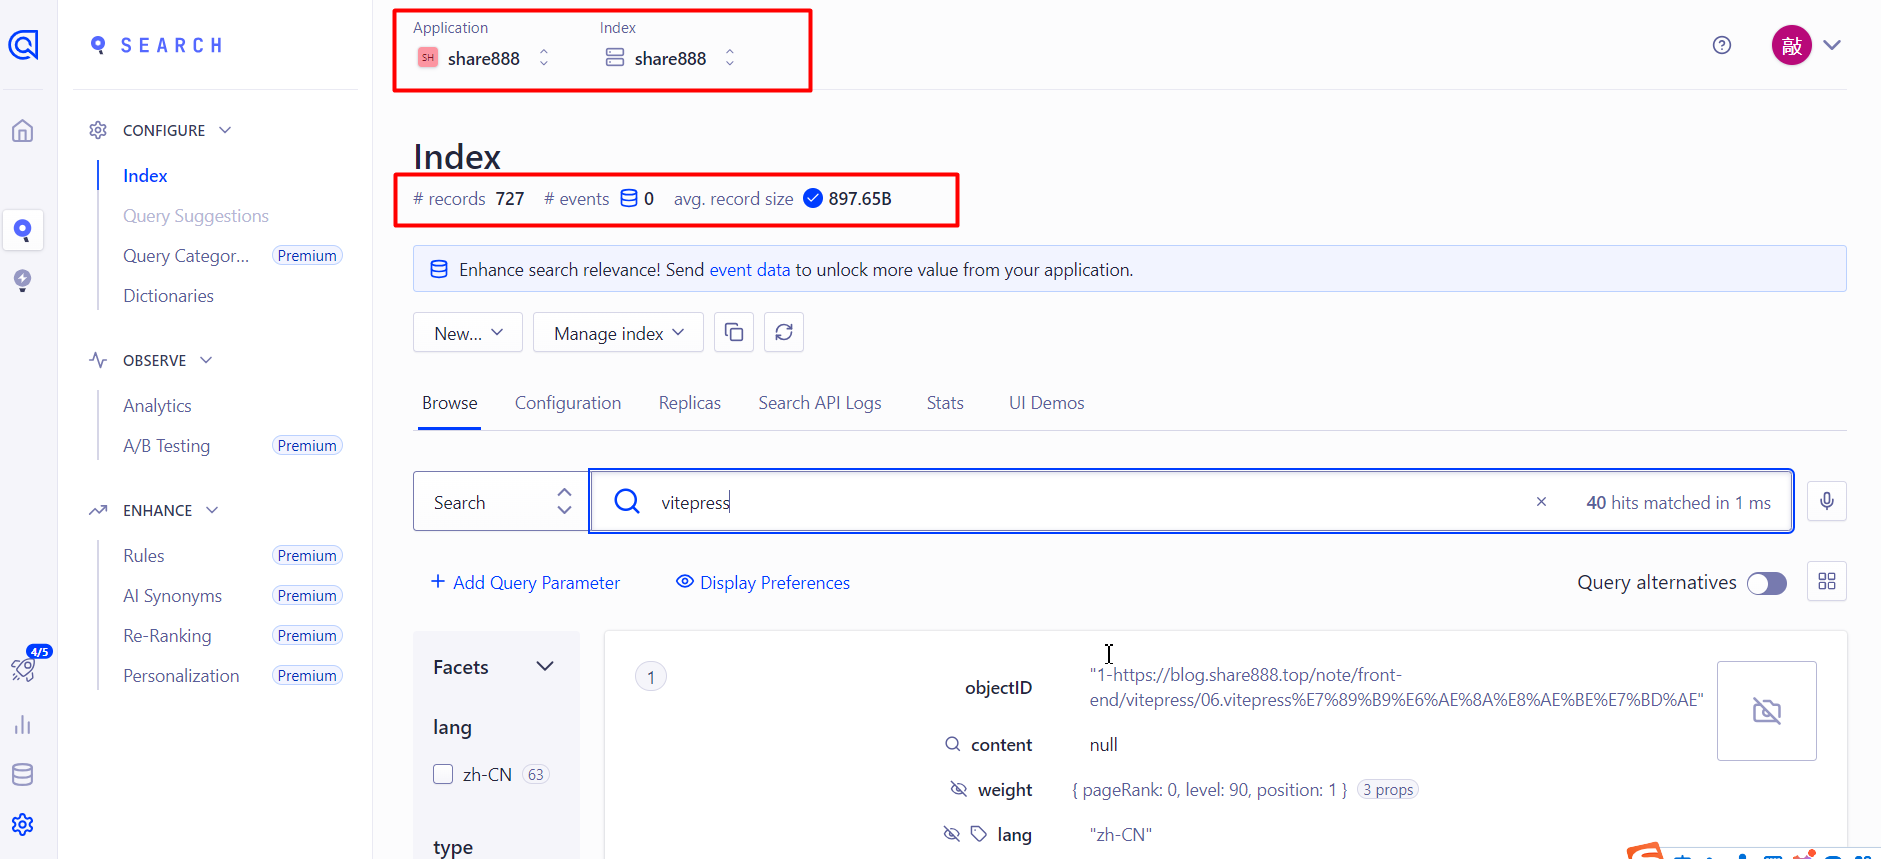
手动拉去索引
一般正常情况下,索引是有值的,如果你需要手动更新的话,需要手动去触发拉取,因为默认是一周一次拉取 https://crawler.algolia.com/admin/users/login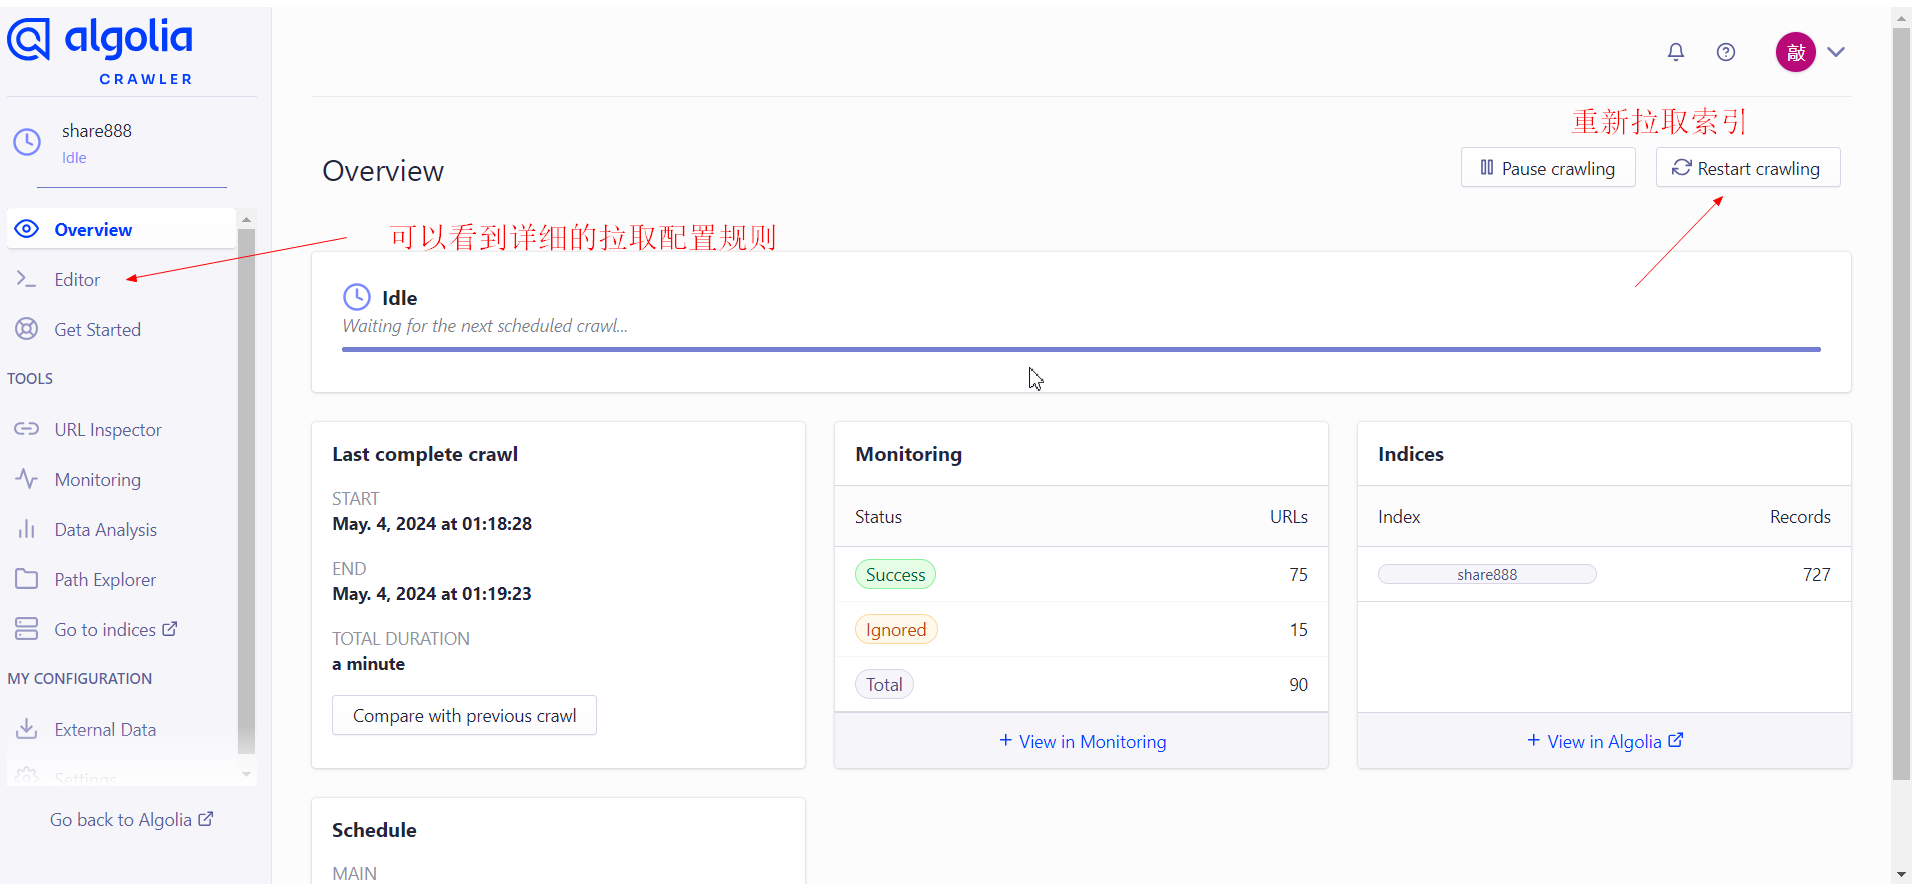
vitepress配置
config.js
js
// 主题配置
const themeConfig = {
    "algolia": { //
        "appId": "CA14xxxxx", // 需要替换
        "apiKey": "a3691e6902b6b598cb7f226xxxxx", // 需要替换
        "indexName": "share888", // 需要替换
        "placeholder": "请输入关键词",
        "buttonText": "搜索"
    }
}最终的结果 